Arduino SPI RAM II

Hello there!

KiLLA’s got some new stuff to share 😉

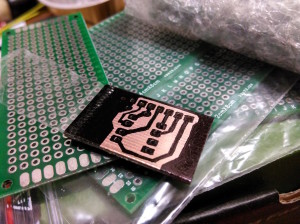
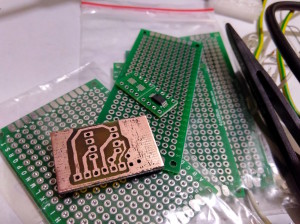
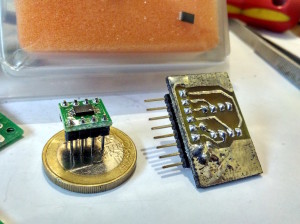
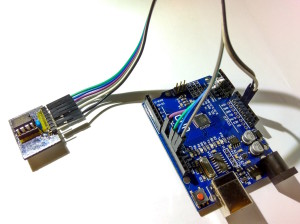
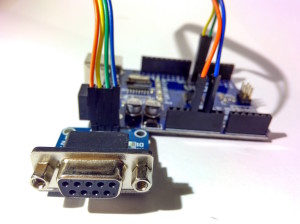
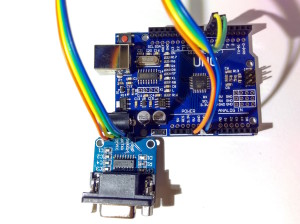
I have plans to use most of these ICs @ 12MHz SPI so i made proper shield instead of breadboard because some guy found it too noisy to work properly that way(link at bottom).
The shield is drilled a bit off axis as i did make it fast with 550W handheld drill 😛

First tests with built in libraries reach sort of low speeds, probably due to latency growing with bus speed, getting ~20kB/s with byte transfer for both writing and reading @ 12MHz and ~50kB/s for 4MHz SPI 🙄

SRAM ICs:
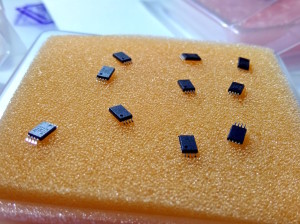
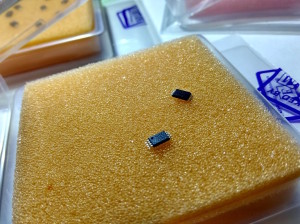
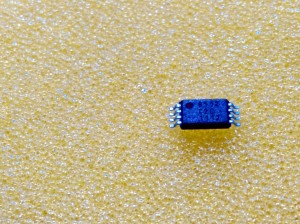
23LCV512-I/P 64kx8bit SRAM 20MHz SPI – TESTED WORKING up to 12MHz
IP12B256I-TU 32kx8bit SRAM 20MHz SPI
IP12B512C-TU 64kx8bit SRAM 20MHz SPI

todo:
# do some more tests..speed!!!
# find fastest library or make own, this guy juiced off ~120kB/s

usefull info:

the noisy guy:
https://dave.cheney.net/2014/01/25/avr11-building-an-spi-sram-shield-for-an-arduino-mega

microchip 23xx spi pinout:
Serial NVSRAM Circuit Diagram

Simplest SRAM library i found:
https://github.com/panStamp/sram

SRAM library:
https://github.com/SV-Zanshin/MicrochipSRAM/blob/master/MicrochipSRAM.cpp

This library example compiles, but throws errors on serial monitor running on Arduino:
https://github.com/MattairTech/SRAM_23LC

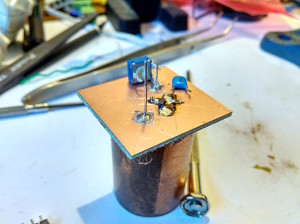
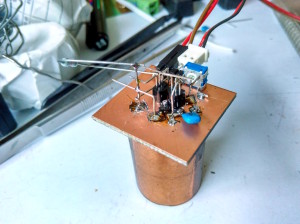
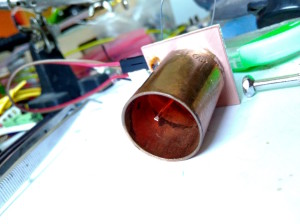
Ion Chamber

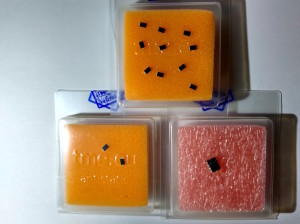
I’m interested in unusual things, so.. I MUST HAVE THIS!!! 😎

Found tons of articles, noob videos and so on, so i picked one i like for testing..
Minor side note on sensitivity: IF THIS DETECTS SOMETHING(>10cm), RUN FOR YOUR LIFE!

Source of schematics:

Conclusion: DAMMIT ITS WORKIN‘

Current state: waiting for better sources of radiation

Further plans:
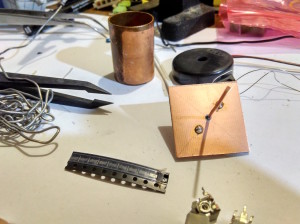
# make new completely surface mounted flat PCB
# insulate components side and use thermal conductive glue to fix metal sheet on top

why??? because the 4117 JFET has some nice pictures in datasheet describing behavior @ -55°C 😀
and how do we get to -55°C??? LN2??? 😀

# place it on 48W peltier with 125w heatpipe cooler
# make some cool testing
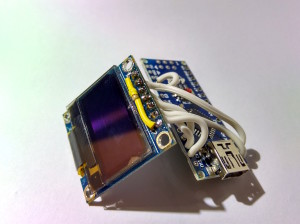
# make some more pieces of THT version boosted with Arduino counter + SSD1306 OLED + cool gauges

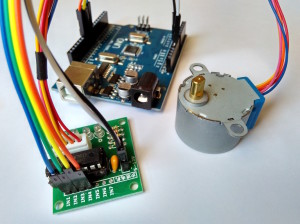
Arduino & stepper 28byj-48

..there are tons of articles about this stepper..
..this is simplest solution i found.. there are few mistakes in the code, but i like it..

http://forum.arduino.cc/index.php?topic=85335.0

i did lol on whole thread how the guys grew up the code and made it far more complex
with weird function names for motor movement as well 😀
they forgot that Arduinos have only 2KB SRAM(most of units sold) for whole project
so we cannot spent huge part of it to make work single part 😀

the idea of the original code is far better than the complex mess from the coolguys..
its not generally wrong to use digitalWrite and its not necessary to use direct port manipulation like tha guys recommended because of the sequential type of the movement..

main problem of the original code is that there is attempt to be correct and make steps somewhat aligned to time with 4x digitalWrite in a row so it delays the desired change of state by variable but repeating amount of time 😀
correct is that there is just one change per the substep and make timing between these same way as datasheet says..
to be fine we must also introduce possibility to add sort of delay between the steps with all coils off as the original code makes stepper pretty hot after a while of high speed..

we should also care of full step and wave drive techniques so we can reach higher speeds than with halfsteps in the original code.. meh..

also i did get from 190 bytes of precious SRAM usage(serialPrint and so on) of the original code(not to mention the coolguys memory bombz lol) to 9 bytes (!) least for working code and 11 bytes in my „light“ version with no precise timing, just the steps and sort of „speed“ (aka delay) 😀
with timing mem usage is somewhat higher because of storing time variables as float type..
this can be partially lowered as we can fiddle with memory storing.. 😀


here is version 0.9.0 beta for testing.. eats 11Bytes of SRAM 😀
+ half steps both directions
+++ wave drive!!!
+ ability to set speed
+ full torque for testing

* be cautious with the testing full torque halfstep function, theres need to use stepper_sleep() func after >ending< sequence of these or even single step to turn coils off -> less heat.. its not used in demo code in loop() section. you have to add call to that func to test.. also its good to call stepper_sleep() before to ensure that all OUTs are LOW..

killa_stepper_demo_090.ino
10.4.2017 - 18.43
text/plain
10.47 kB

Arduino SPI RAM

..as i sometimes do run out of memory on my arduino projects i did search for some other options than reducing amounts of data used..

For example in my recent project with display a display buffer does eat 1024 bytes of 2048 bytes total so there is not much SRAM to work with for the rest of the sketch..

SRAM ICs:
23LCV512-I/P 64kx8bit SRAM  20MHz SPI
IP12B256I-TU 32kx8bit SRAM  20MHz SPI
IP12B512C-TU 64kx8bit SRAM  20MHz SPI

GOALS:
read/write operations with modified library
read/write simpler way directly from sktech, without library

update 29/3/2017: ICs ARRIVED!

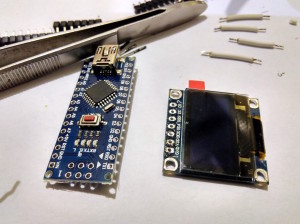
Arduino OLED oscilloscope I


..i wanted small portable oscilloscope for many years..
..found some parts, made some code.. and.. voila 😀

what:

  • based on Arduino, runs on all with 2kB SRAM or more
  • uses own modified Adafruit lib
  • own custom made menu with animations
  • can save values on SD
  • can send values over serial
  • serial monitor reacts to cls commands +can save output to SD
  • lots of options to set
  • tons of other batshit u will luv

modes:

  • single scope
  • dual scope
  • time collect
  • 1 to 8 channel bar meter
  • advanced serial monitor

——————————————————————
* still under development, current version is 0.99-2
* complete package with libs for download will be here soon.


DELL Optiplex 755 PSU fix

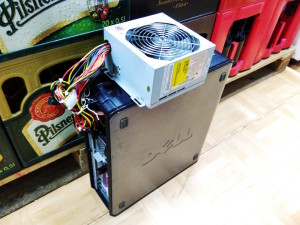
Friend who has a shop called me that his computer used as cash register has a black screen.. a PSU in oldish office computer have failed and been replaced by proper unit 😀
Worse thing is that i’m not able to fix the original one..

update 2/2017: the duct-taped PSU is still on top of the machine..